Building an Automated Invoice-to-Google-Sheets Workflow with Make.com
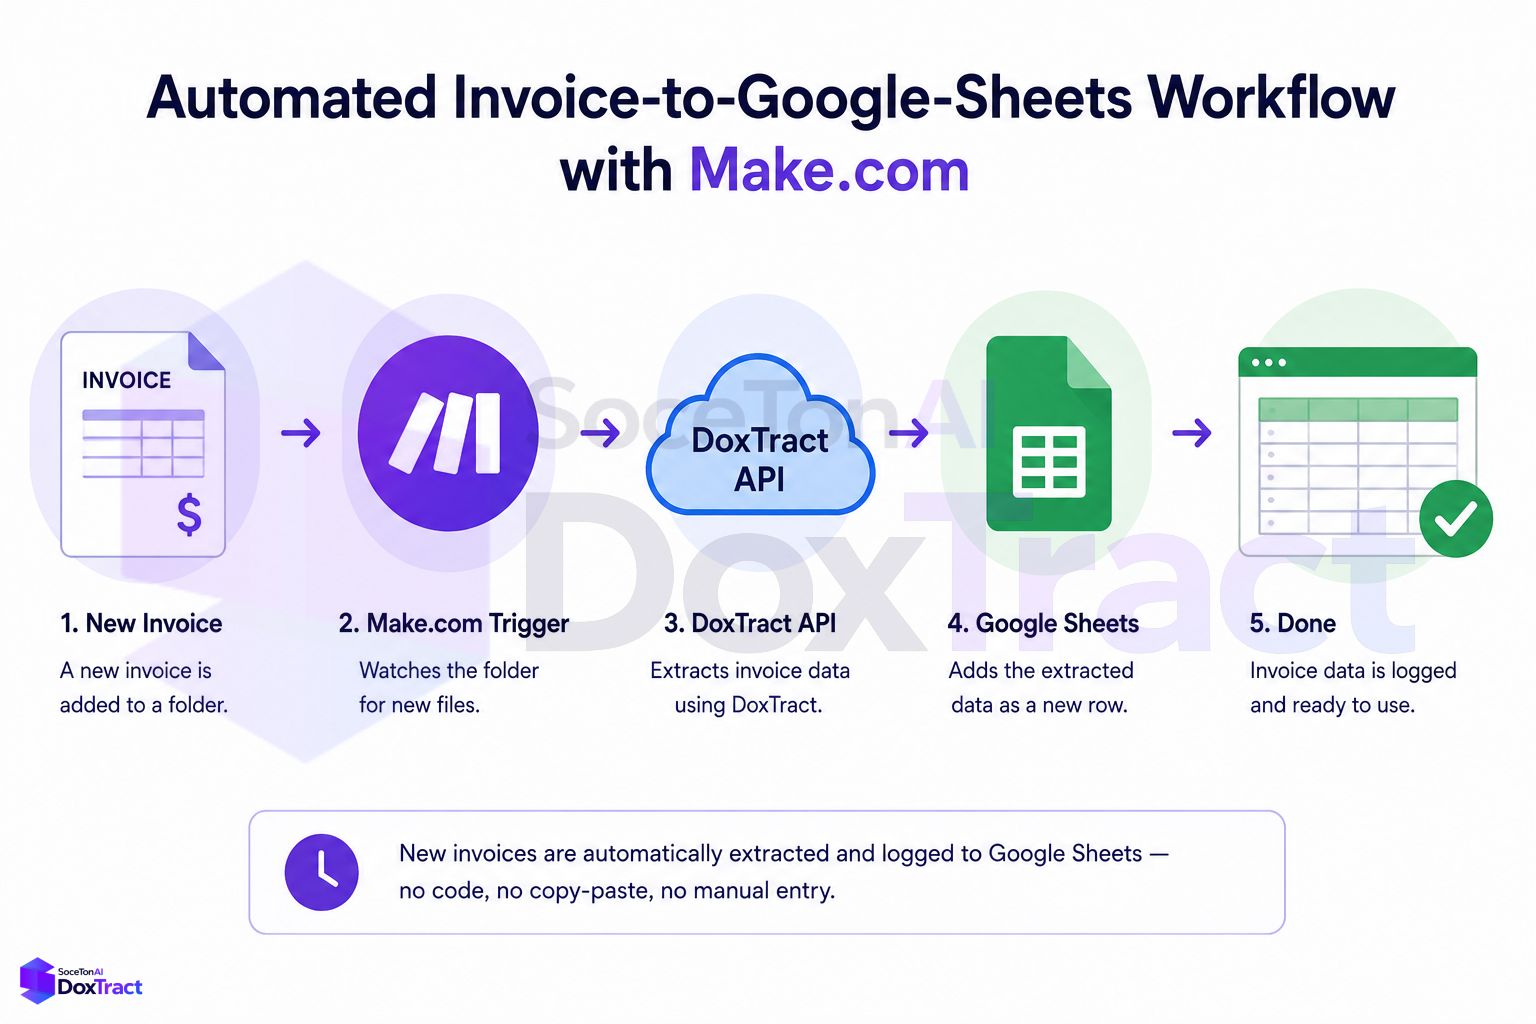
One thing to know before starting: DoxTract doesn't currently have a native module in Make's app library. That's fine — Make's built-in HTTP module can call any REST API directly, and it's still entirely point-and-click configuration, no custom code required. This walkthrough builds a scenario that watches for new invoices, extracts their data with DoxTract, and logs each one as a row in Google Sheets.
What You'll Need
A DoxTract account with a saved extraction template for your invoice format, and its
template_idYour DoxTract
API KeyandAPI Secretfrom your dashboardA Make.com account (the free tier supports the HTTP module)
A Google Sheet set up with column headers matching the fields you'll extract (Vendor, Date, Amount, Invoice Number, etc.)
Step 1: Build the Extraction Template
If you haven't already, go to the Template Editor — no signup needed to try it — upload a sample invoice, and draw Fixed Header Box → Value Box pairs for each field you want in your sheet. Save it and note the template_id from the Doxtract dashboard.
Step 2: Create the Scenario and Add a Trigger
In Make, create a new scenario and add a trigger module for wherever your invoices arrive:
Google Drive — "Watch Files in a Folder": fires whenever a new invoice lands in a shared upload folder.
Gmail — "Watch Emails": fires on new messages matching a filter, useful if invoices come in as attachments to a dedicated forwarding address.
Set the polling interval to whatever fits your volume — every 15 minutes is a reasonable default for most solo practices.
Step 3: Add an HTTP Module to Call DoxTract
This module stands in for the missing native app:
Add a module and search for HTTP.
Choose Make a request.
Set the URL to:
https://api.soceton.com/doxtract/api/readSet Method to
POST.Under Headers, add two entries:
   x-api-key: YOUR_API_KEY
   x-api-secret: YOUR_API_SECRET
Set Body type to
Multipart/form-data.Add a form-data field named
files, and map it to the file output from your trigger module (the Drive file or Gmail attachment).Add a second form-data field named
data, with the value:
{"template_id":"YOUR_TEMPLATE_ID"}Under Parse response, toggle this on so Make automatically breaks the JSON reply into individually mappable fields for the next module.
Run the scenario once with a real test file to confirm the HTTP module returns data successfully — Make will show you the parsed response structure, which you'll use in the next step.
Step 4: Map the Response into Google Sheets
Add a Google Sheets — "Add a Row" module after the HTTP module:
Connect your Google account and select the target spreadsheet and sheet.
For each column (Vendor, Date, Amount, Invoice Number, etc.), click into the field and select the matching value from the HTTP module's parsed
resultoutput.Save the module.
Every new invoice that triggers the scenario now flows through extraction and lands as a clean row in your sheet automatically.
Step 5: Add Error Handling (Optional but Worth It)
Automated pipelines eventually hit a bad input — a blurry scan, a document that doesn't match the template. Add a basic safety net:
Use Make's Router after the HTTP module to branch based on whether the response indicates success.
On the failure branch, add a Gmail — "Send an Email" module to notify yourself, or log the failed file to a separate "Needs Review" sheet instead of silently dropping it.
This keeps a bad extraction from disappearing invisibly instead of just showing up as a missing row you'd have to notice on your own.
Step 6: Turn On the Scenario
Once a real test invoice flows all the way through to a correctly populated sheet row, activate the scenario and let it run on its schedule. Spot-check the sheet against source invoices for the first week or two before trusting it fully unattended.
When to Use This vs. the Dashboard
This Make scenario is built for invoices that arrive continuously, one at a time — it's not the right tool for a monthly batch of fifty documents at once, since that would mean fifty separate scenario runs. For batch processing, upload the whole set directly to the Doxtract dashboard and export a CSV instead; reserve this Make workflow for the steady trickle of invoices that show up between batches.
Getting Started
If your template isn't built yet, that's the real first step — the Template Editor is free to try without signing up. Check Pricing before running this against live invoices; the free tier (200 pages/month) covers plenty of testing before you commit further.