How to Extract Data from Documents Using DoxTract — No Code Required
You don't need to touch an API or write a single line of code to get structured data out of your documents with DoxTract. Everything — from building your extraction template to exporting a CSV of results — can be done from the dashboard. This tutorial covers the whole process end to end, using only the UI.
Want to try the template editor first? It's open with no signup required: Template Editor. You can also check the Pricing page to see per-page costs before extracting a real batch.
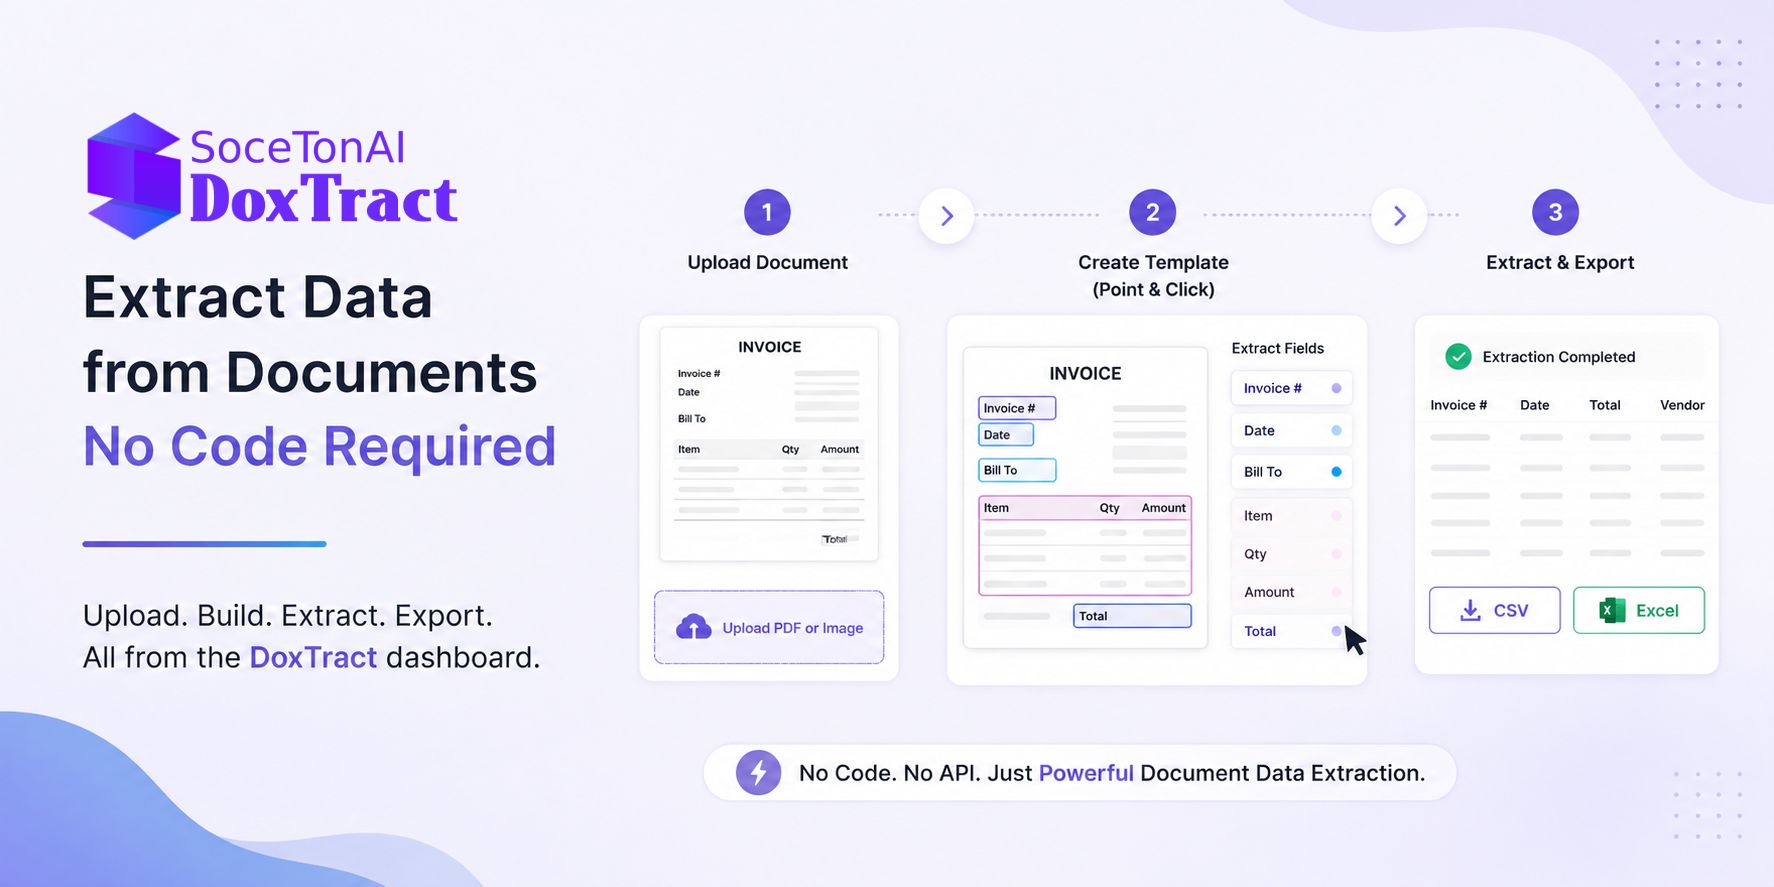
Step 1: Open the Template Editor
Go to the Doxtract Template Editor and click Choose File to upload a sample document — an invoice, receipt, purchase order, or form. This sample becomes the layout DoxTract learns from, so pick one that's representative of the batch you'll be processing later.
Step 2: Name Your Template and Pick a Model
Once your document loads:
Enter a template name (something identifiable, like "Vendor A Invoices").
Add a short description.
Select the extraction model you want to use.
Step 3: Mark the Fields You Want to Extract
This is the core of the template — and it's entirely drag-and-draw, no code involved.
Draw a Fixed Header Box around any label that stays the same across every document of this type — things like "Invoice Number," "Date," or "Total."
Draw a Value Box around the actual data next to that label — the number, date, or amount itself.
Connect the Fixed Header Box to its Value Box by dragging from the blue circle on the header box to the green circle on the value box.
Repeat this for every field you want pulled out — vendor name, invoice number, date, subtotal, tax, total, and so on.
Why the two boxes? The Fixed Header Box acts as an anchor. Because label text like "Total" doesn't move between documents, DoxTract uses it to relocate the connected Value Box even when spacing or content length shifts slightly between different documents of the same layout.
Step 4: Capture Table Data (Optional)
If your documents have line-item tables — item descriptions, quantities, unit prices — you extract those the same way, just column by column:
Draw a Fixed Header Box around each column heading (e.g., "Description," "Qty," "Unit Price").
Draw a Value Box underneath each one, covering the column's data.
Assign a field name to each column in the sidebar.
Connect each header box to its corresponding value box.
If row count varies between documents, turn on Expand Height on the value box and connect its expanding edge to a Fixed Header Box below the table (like a subtotal line), so the box grows or shrinks automatically with the table.
Step 5: Save Your Template
Click Save to Cloud. Your template is now stored and ready to reuse on any document with this layout — you'll never need to redraw these boxes for this vendor or form type again.
Step 6: Run an Extraction
Head to the Doxtract page:
Click Modify Selection.
Select the template you just built and click Done.
Click to select one or more images or PDFs you want processed.
Click Extract Data.
Step 7: Get Your Results
Single file: results appear immediately on screen once processing finishes.
Multiple files: DoxTract creates an extraction job. Once it completes, you can download the extracted data as a CSV file — ready to drop straight into a spreadsheet or accounting tool.
That's It
No API keys, no code, no integration work — just draw your fields once, save the template, and reuse it on every future document with that layout. If you're processing the same vendor's invoices every month, this is a one-time setup that pays off on every batch after.
If your business later needs this extraction wired directly into your own software (say, auto-processing invoices as they land in an inbox), that's where the DoxTract API comes in — but for manual or occasional use, the dashboard alone is all you need.