How to Automate Data Entry for Bookkeeping Clients (2026 Guide)
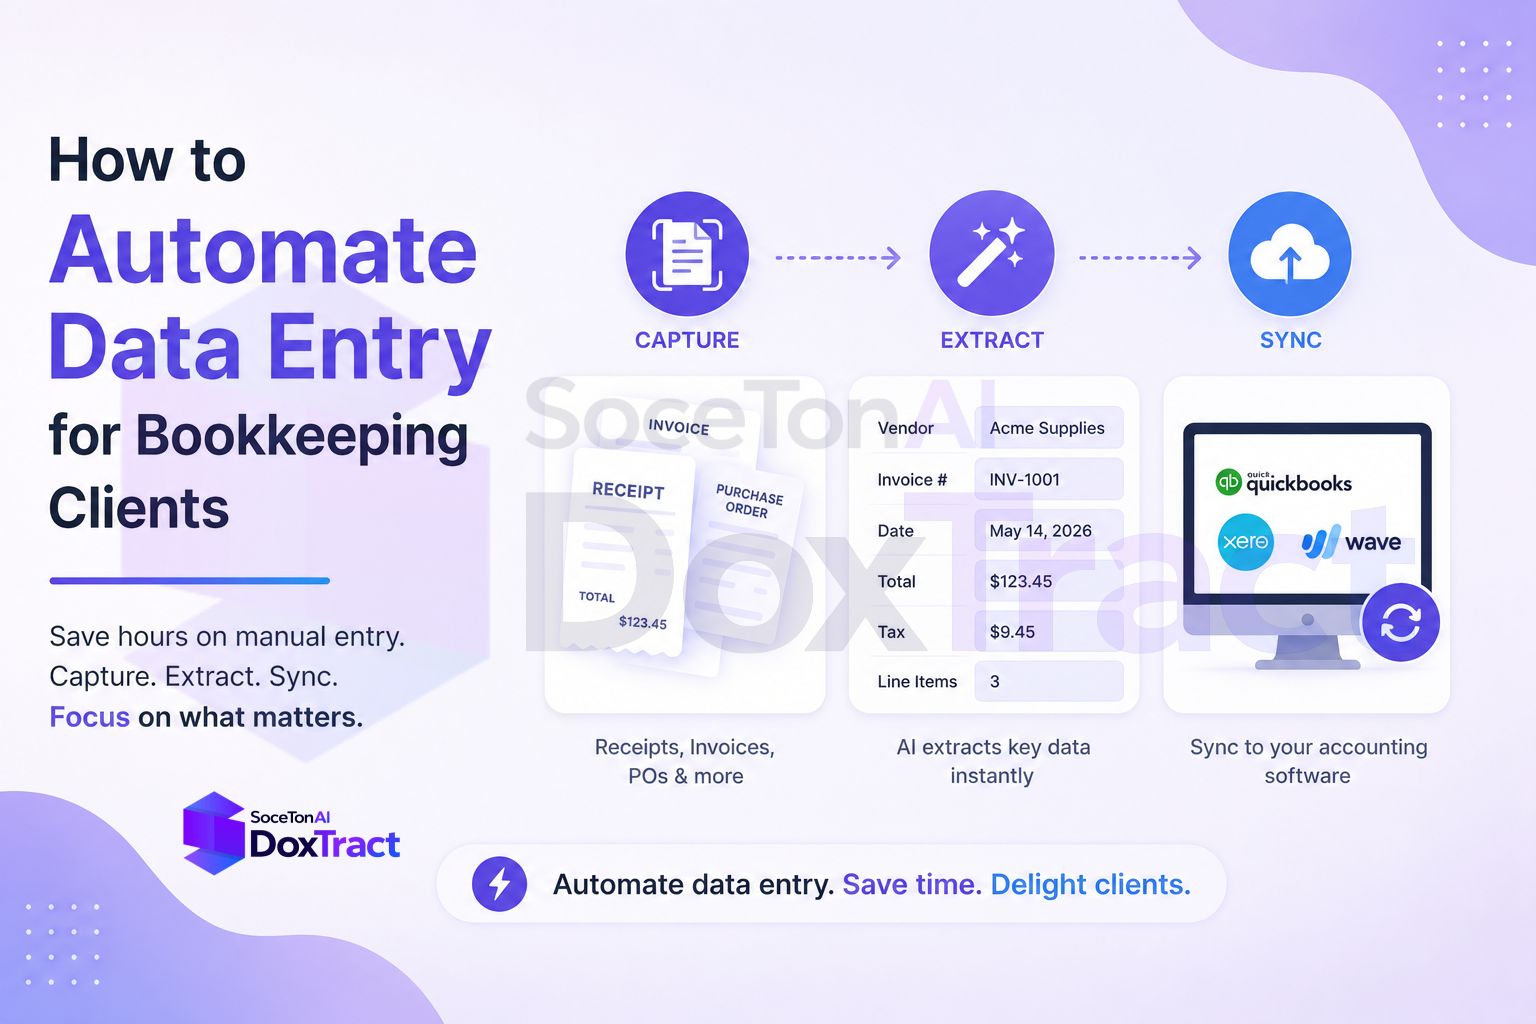
If you bookkeep for more than one or two clients, you already know where your hours actually go. It's not the reconciliation, and it's not the reporting — it's the hundreds of receipts, invoices, and purchase orders you retype line by line so the numbers exist somewhere your accounting software can use them.
Manual data entry doesn't just cost time. It's where typos slip into a client's books, where a missed line item throws off a category total, and where you quietly burn the margin on your lower-paying clients because their document volume doesn't match what you're charging. Automating this step is one of the highest-leverage changes a freelance or small bookkeeping practice can make — and it doesn't require hiring a developer or subscribing to an enterprise AP platform.
Why Generic OCR Tools Fall Short for Bookkeeping
Most receipt-scanning apps are built around a fixed idea of what a receipt looks like: merchant, date, total, maybe a tax line. That works fine until a client hands you a vendor invoice with a nonstandard layout, a multi-page purchase order, or a table of line items the app wasn't designed to parse. At that point you're back to typing it in by hand — for exactly the documents that take the longest.
The other problem is per-client cost. Full expense-management platforms often price by seat or by company, which adds up fast when you're managing books for ten different small businesses that each generate a modest number of documents a month.
What Automated Data Entry Should Actually Look Like
For a bookkeeping practice, the ideal setup is:
A template per client (or per recurring vendor) — so the tool knows exactly which fields and table columns to pull, no matter how unusual the layout.
A low, predictable per-page cost — so a light-volume client doesn't cost you the same as a high-volume one.
Structured output your books can actually use — clean JSON or CSV, not a wall of raw OCR text you still have to parse yourself.
A path to full automation — so once it's working, receipts stop needing a human to touch them at all.
This is exactly the gap DoxTract is built to fill.
Step 1: Build a Template for Each Client's Document Type
Start in the Template Editor — it's open to try with no signup required. Upload a sample invoice or receipt from a client, then:
Draw a Fixed Header Box around each label that stays constant across that client's documents (vendor name, "Invoice Total," "Date").
Draw a Value Box around the data next to it, and connect the two.
For line-item tables, repeat the same header/value pairing per column, and turn on Expand Height so the box grows automatically as row counts vary from document to document.
Because the Fixed Header Boxes act as anchors, the template keeps working correctly even as amounts, item counts, and text lengths change between individual documents — you only draw it once per layout.
Save it, and that template becomes reusable for every future document from that client or vendor.
Step 2: Test It Without Writing Any Code
Before automating anything, run it manually from the Doxtract dashboard: select your template, upload a batch of real client documents, and click Extract Data. For multiple files, DoxTract processes them as a job and gives you a CSV you can open straight in a spreadsheet — a good way to confirm accuracy before you wire it into a pipeline.
Step 3: Automate the Pipeline with the API
Once a template is reliable, move it off your desk entirely. A typical automated setup:
curl -X POST "https://api.soceton.com/doxtract/api/read" \
  -H "x-api-key: YOUR_API_KEY" \
  -H "x-api-secret: YOUR_API_SECRET" \
  -F "files=@invoice.pdf" \
-F 'data={"template_id":"123"}'Point this at wherever your clients' documents already land — a shared inbox, a Dropbox folder, an upload form on your own client portal — and every new document gets extracted automatically. For batches, poll the job status endpoint until processing completes, then pull the structured results:
curl -X GET "https://api.soceton.com/doxtract/api/jobs/JOB_ID" \
  -H "x-api-key: YOUR_API_KEY" \
-H "x-api-secret: YOUR_API_SECRET"From there, the JSON or CSV output maps directly into whatever you use to get data into each client's books — a script that writes to QuickBooks or Xero via their own APIs, an import file, or a spreadsheet macro. Full endpoint details are in the API docs.
Step 4: Scale Templates Across Your Client Roster
Because templates are per-layout rather than per-client-seat, the model scales naturally with a bookkeeping practice: a client with one recurring vendor might need a single template; a client with varied documents might need a handful. You can list and manage them programmatically once you're past a few:
curl -X GET "https://api.soceton.com/doxtract/api/templates?skip=0&limit=10" \
  -H "x-api-key: YOUR_API_KEY" \
-H "x-api-secret: YOUR_API_SECRET"What This Actually Saves You
Once templates are built, the manual step disappears. A batch of receipts that used to take an hour of typing becomes a file upload and a coffee break. And because pricing is pay-as-you-go — starting with a free tier covering 200 pages a month and 20 lifetime templates — the cost scales with actual document volume instead of a flat per-client software fee, which matters when your clients range from a five-receipts-a-month freelancer to a business generating hundreds.
Getting Started
You don't need to automate everything on day one. A reasonable rollout:
Pick your highest-volume or most repetitive client.
Build and test one template for their most common document type.
Confirm accuracy manually a few times.
Wire it into the API once you trust it.
Repeat for the next client.
Check the Getting Started guide for an overview of the full workflow, or see Pricing to estimate costs against your actual client document volume before you commit.