OCR for QuickBooks/Xero: How to Auto-Import Receipts and Invoices
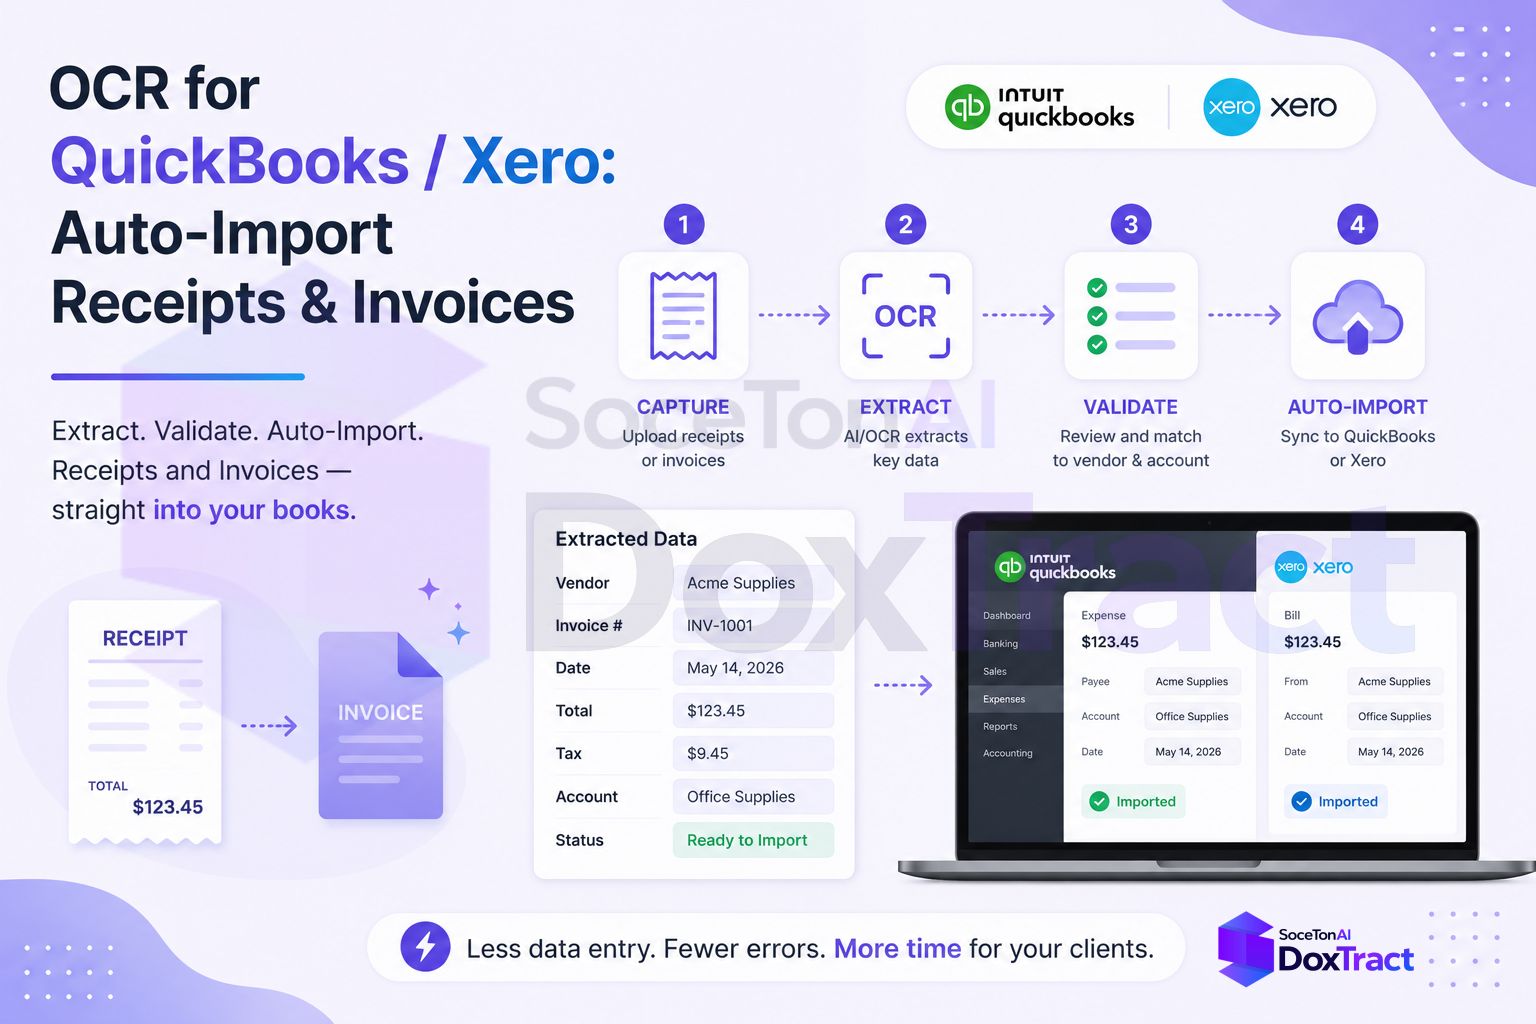
Bookkeepers don't live in a receipt scanner — they live in QuickBooks Online or Xero. Whatever OCR tool you use, the extracted data is only useful once it lands in the ledger, matched to the right vendor, account, and amount. This is where a lot of "AI-powered" receipt tools quietly fall short: they'll happily read a receipt, but getting that data cleanly into QuickBooks or Xero — especially at volume, across multiple clients — is a separate problem.
There are two realistic paths to get OCR-extracted data into your accounting platform: a CSV import path that needs no development work, and a direct API path that removes manual steps entirely. Here's how to set up both using DoxTract.
Why This Is Harder Than It Sounds
QuickBooks and Xero don't expect free-form OCR text — they expect structured records that map to specific fields: a vendor, a transaction date, an amount, a category/account, and often line items with quantities and rates. A receipt scanner that just dumps raw extracted text (or a fixed set of generic fields that don't match your chart of accounts) still leaves you doing translation work by hand.
The fix is to define your extraction template so its output already matches what QuickBooks or Xero expects — so there's no reformatting step between "data extracted" and "data importable."
Path 1: CSV Import (No Coding Required)
This is the fastest way to get from a stack of client receipts to entries in the books, and it fits naturally into an existing bookkeeping workflow.
Step 1: Build a template that mirrors your accounting fields
In the Template Editor — usable without signing up — upload a sample receipt or invoice and draw Fixed Header Box → Value Box pairs for each field you need:
Vendor/payee name
Transaction date
Amount (and tax, if tracked separately)
Description or memo
Line items, if you need item-level detail rather than just a total
Name each field to match the column headers your import process expects (e.g., Vendor, Date, Amount, Account, Memo), so the export is already in the right shape.
Step 2: Extract a batch and export to CSV
From the Doxtract dashboard, select your template, upload a batch of client receipts or invoices, and run Extract Data. For multi-file batches, DoxTract processes them as a job and gives you a CSV once it's done — one row per document, columns matching the fields you defined.
Step 3: Review, then import
Open the CSV, do a quick sanity check (this is also where you'd assign or confirm account categories if your template doesn't already capture them), and bring it into QuickBooks or Xero using their respective transaction/bill import flow. Because the columns already match what you need, this step is copy-paste-fast rather than a manual retyping job.
This path is a strong fit if you're processing client documents in occasional batches rather than needing real-time, per-document automation.
Path 2: Full API Automation
If you're processing documents continuously — say, receipts arriving by email throughout the month — the CSV step becomes the bottleneck. At that point, connect DoxTract's output directly to the QuickBooks or Xero API and skip manual import entirely.
Step 1: Extract structured JSON
curl -X POST "https://api.soceton.com/doxtract/api/read" \
  -H "x-api-key: YOUR_API_KEY" \
  -H "x-api-secret: YOUR_API_SECRET" \
  -F "files=@invoice.pdf" \
-F 'data={"template_id":"123"}'This returns structured JSON with exactly the fields your template defines — vendor, date, amount, line items, whatever you mapped.
Step 2: Map the extracted fields to a Bill or Purchase (QuickBooks) or Invoice (Xero)
Both platforms expose a REST API that accepts JSON to create accounts-payable records:
QuickBooks Online: the
Purchaseentity represents an expense, and theBillentity represents an accounts-payable transaction from a vendor — both created viaPOSTrequests through Intuit's Accounting API, authenticated with OAuth 2.0.Xero: the
Invoicesendpoint handles both sales invoices and purchase bills (theTypefield distinguishes them), also created viaPOSTwith OAuth 2.0 authentication.
A minimal glue script looks like this:
import requests

# 1. Extract with DoxTract
extract = requests.post(
    "https://api.soceton.com/doxtract/api/read",
    headers={"x-api-key": DOXTRACT_KEY, "x-api-secret": DOXTRACT_SECRET},
    files={"files": open("invoice.pdf", "rb")},
    data={"data": '{"template_id":"123"}'},
).json()

fields = extract["result"]

# 2. Map to QuickBooks Bill payload
bill_payload = {
    "VendorRef": {"name": fields["vendor_name"]},
    "TxnDate": fields["invoice_date"],
    "Line": [{
        "Amount": fields["total"],
        "DetailType": "AccountBasedExpenseLineDetail",
        "AccountBasedExpenseLineDetail": {
            "AccountRef": {"value": YOUR_MAPPED_ACCOUNT_ID}
        }
    }]
}

# 3. POST to QuickBooks (auth/token handling omitted for brevity)
requests.post(
    f"https://quickbooks.api.intuit.com/v3/company/{REALM_ID}/bill",
    headers={"Authorization": f"Bearer {QBO_ACCESS_TOKEN}"},
    json=bill_payload,
)Swap the second call for Xero's Invoices endpoint with Type: ACCPAY if that's your target platform. Either way, the pattern is the same: DoxTract handles the document-to-structured-data step, and a thin mapping layer handles structured-data-to-ledger-entry.
Step 3: Handle account mapping once, not per document
The one piece that stays semi-manual is category/account mapping — deciding that "Staples" maps to Office Supplies, or that a given vendor always posts to a specific expense account. Most bookkeepers solve this with a lookup table keyed by vendor name, checked before the API call fires, with anything unmatched routed to a review queue instead of posted blind.
Which Path Should You Use?
CSV import — best if your document volume is batch-based (weekly or monthly catch-up work) and you want a quick sanity check before anything hits the books.
API automation — best if documents arrive continuously and you want them posted (or queued for review) without touching a keyboard.
Many bookkeeping practices start with CSV import to validate accuracy on a new client's document types, then move that client to full API automation once the template is proven.
Getting Started
Build a template for one client's most common receipt or invoice type in the Template Editor — no signup needed to try it.
Run a test batch and check the CSV output against what you'd normally type in by hand.
Once it's accurate, either bulk-import the CSV or wire the API into your QuickBooks/Xero posting logic.
Check Pricing to estimate cost against a client's monthly document volume — the free tier covers 200 pages a month, which is usually enough to fully validate a template before relying on it.