The VA's Guide to Managing Client Expenses Without Manual Data Entry
Managing a client's expenses is bigger than typing receipts into a spreadsheet — it's collecting them, categorizing them, tracking them against whatever budget or card limit the client cares about, flagging anything unusual, and being able to answer "what did we spend on X last month" without digging through a folder. Data entry is just the first, most tedious layer of that, and it's the layer that eats the most time relative to how little judgment it actually requires.
This guide covers the full expense-management workflow, not just the entry step — and how to remove the manual typing from most of it.
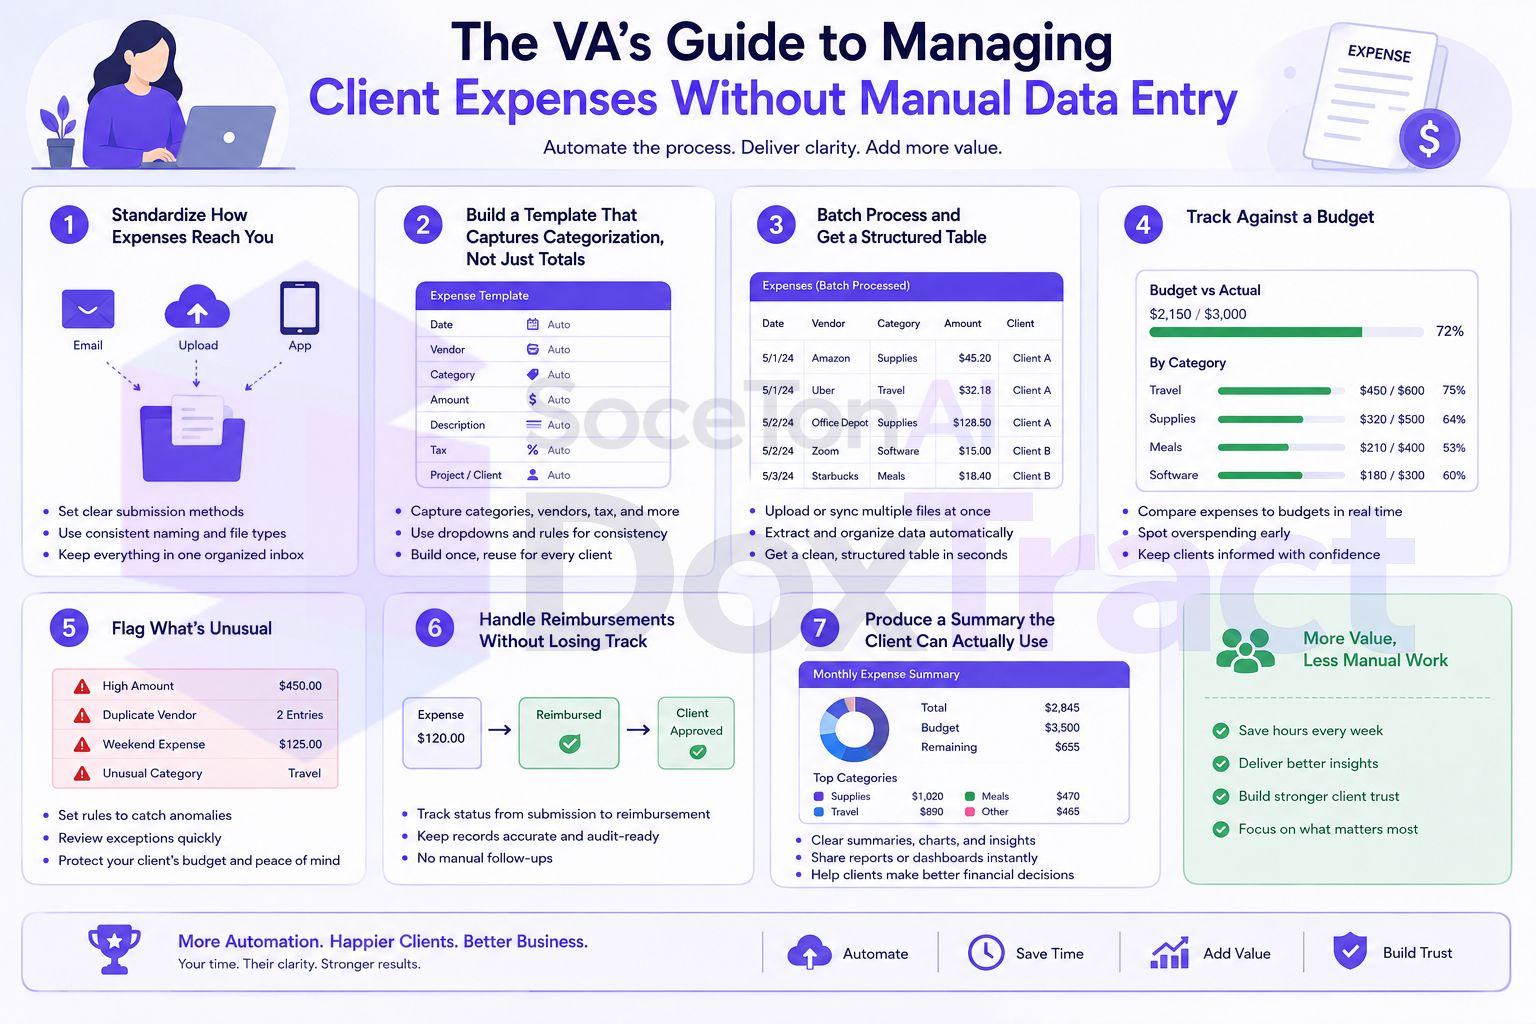
The Full Job, Not Just the Typing
A client asking you to "handle expenses" usually means some combination of:
Collecting receipts and invoices as they come in
Recording what was spent, where, and on what category
Tracking spend against a budget or a card limit
Flagging anything that looks off before it becomes a surprise
Producing a summary the client can actually glance at
Chasing down reimbursable expenses and confirming they were paid back
Manual data entry only really covers the second item on that list — and it's usually the bottleneck that keeps you from spending real time on the other five.
Step 1: Standardize How Expenses Reach You
Before anything else, fix intake per client — a dedicated forwarding email, a shared folder, or an upload form, so you're not hunting through a personal inbox every time. This is worth doing even before you automate extraction, because a messy intake undermines everything downstream regardless of how fast the data entry itself is.
Step 2: Build a Template That Captures Categorization, Not Just Totals
This is the part that turns "expense entry" into "expense management" — extracting more than just an amount. In the Template Editor — free to try, no signup needed — build a template per client that pulls:
Vendor and amount (the basics)
Date
A category field, if the receipt itself indicates one (many vendor invoices list a department or type)
Line items, for receipts where the breakdown matters — a supply run with a mix of expense types shouldn't get lumped into one bucket
If a client cares about specific categories that aren't printed on the document itself (say, distinguishing "client entertainment" from "team meals" when both come from the same restaurant), you'll still assign those manually — automation handles what's actually on the page, not judgment calls the document doesn't contain.
Step 3: Batch Process and Get a Structured Table
Run each client's collected documents through their template from the Doxtract App — upload the batch, click extract, get back a CSV with one row per document. This is the point where "expense management" stops being a pile of PDFs and starts being a table you can actually work with: sort by category, filter by vendor, sum by date range.
Step 4: Track Against a Budget
Once expenses are structured data instead of a folder of receipts, budget tracking becomes a spreadsheet formula instead of a manual tally. A simple running total by category, compared against whatever limit the client has set, tells you (and them) whether spending is on track well before month-end — instead of everyone finding out during a reconciliation surprise.
Step 5: Flag What's Unusual
With structured data, spotting outliers is a quick sort-and-scan rather than a memory exercise: the largest transactions, anything from a new/unfamiliar vendor, or anything that breaks a client's normal pattern. This is exactly the kind of check that's fast once the data is structured and painfully slow when it means re-reading a stack of receipts to remember what looked normal.
Step 6: Handle Reimbursements Without Losing Track
If part of your role includes tracking reimbursable expenses (a client's employee or contractor fronting a cost), add a status field to your tracking sheet — Submitted / Approved / Reimbursed — and update it as part of your regular batch review rather than as a separate manual process. Because the underlying data is already structured, cross-referencing "has this been paid back" against a bank statement is the same kind of table-matching you'd use for any reconciliation, not a re-read of the original receipt.
Step 7: Produce a Summary the Client Can Actually Use
The last step is the payoff: instead of forwarding a folder of receipts, hand the client something they can read in thirty seconds — total spend by category for the period, anything flagged, and reimbursement status. Structured data makes this a pivot table or a simple summary sheet rather than a manual write-up assembled from memory.
Managing This Across Multiple Clients
If you're doing this for more than one client, a few habits keep it from tangling together:
One template per client — even if two clients' documents look superficially similar, keep their extraction setups separate.
Batch by client, not by arrival date — finish one client's full cycle (collect, extract, categorize, review, summarize) before starting the next.
Keep the source document linked to its data — don't let a structured row exist with no way to trace it back to the original receipt if a client ever asks "where did this come from."
Getting Started
Start with your highest-volume or most involved client — build one template covering their most common expense document in the Template Editor, no signup required — and run their next batch through the full workflow above instead of the old read-and-type routine. Check Pricing; the free tier (200 pages/month) is enough to pilot this before rolling it out to the rest of your clients.