How to Extract Data from Delivery Reports and Delivery Notes
Delivery paperwork usually arrives as scans and phone photos taken at the dock, and re-keying it by hand delays invoicing and stock updates. A template turns those documents into structured JSON or CSV instead, with shipment details like the delivery number, order number, and date, plus the quantity of every item delivered. This guide shows how to extract data from delivery reports with DoxTract, from creating a template to processing a batch. For the general workflow, see our guide to extracting structured data from documents.
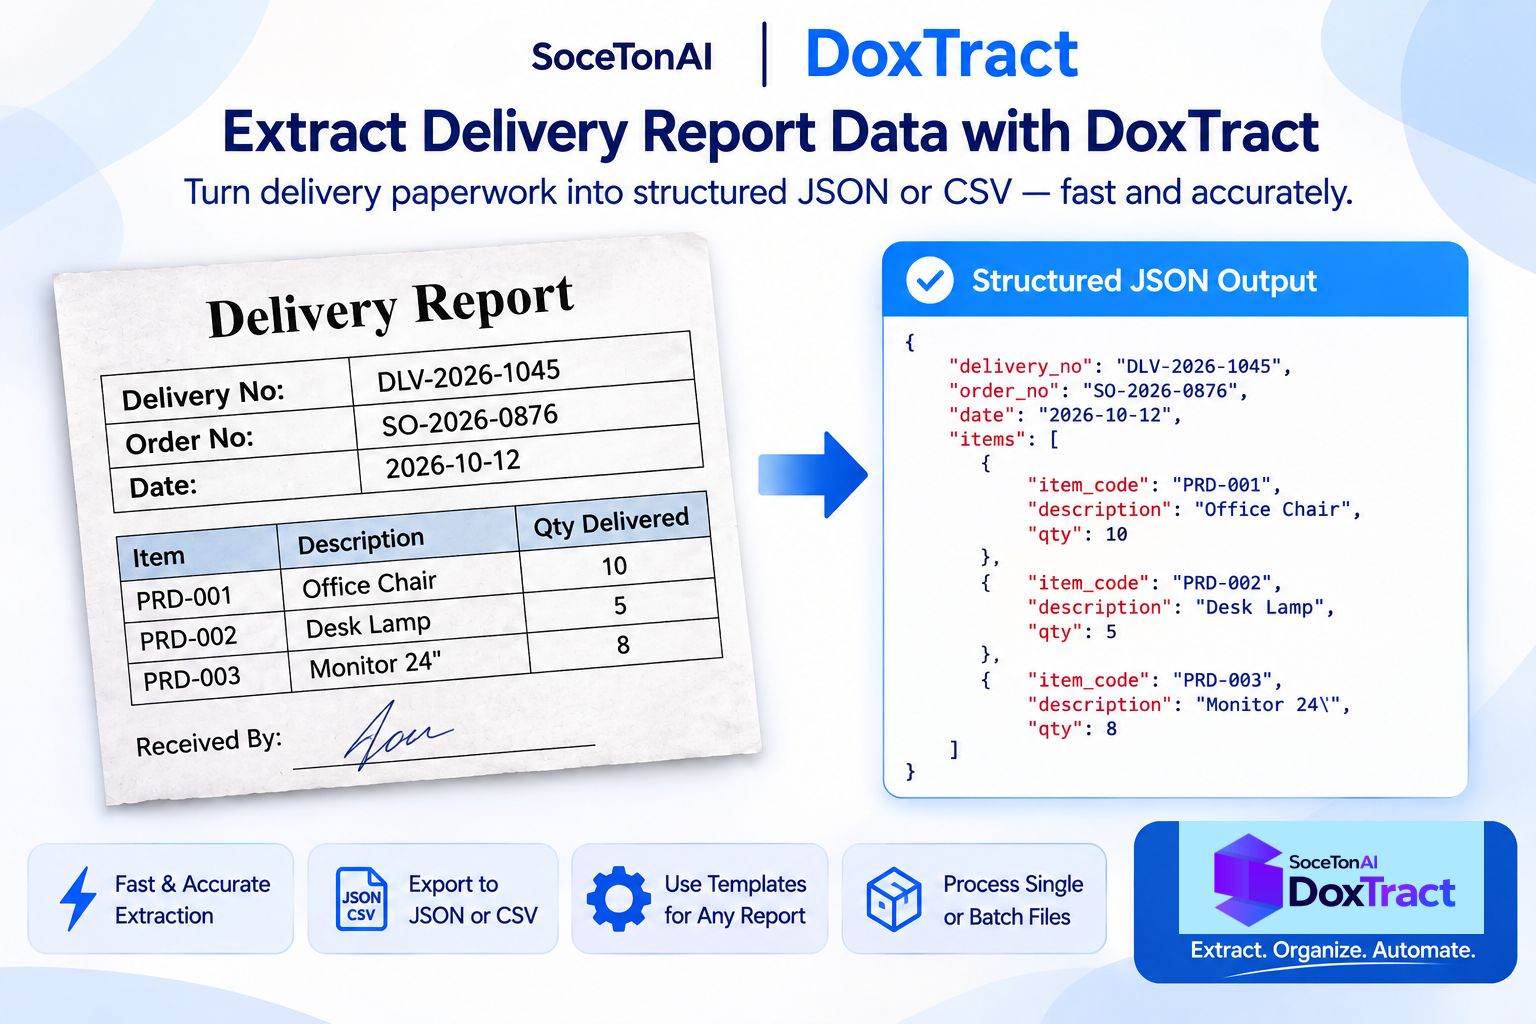
What Data Can You Extract from a Delivery Report?
A delivery report holds two kinds of data: single values that appear once, and a list of delivered items that repeats. A DoxTract template can capture both.
Header fields
Delivery or shipment number
Order or PO number
Delivery date
Supplier or carrier
Recipient name and address
Received-by name
Line items (table)
Item or SKU
Description
Quantity ordered
Quantity delivered
Unit
Header fields are extracted as single values. Line items come out as a list, one entry per row, so a delivery with five items and one with fifty both produce clean, structured output. You choose which fields to include, so you can start with the delivery number, date, and quantities and add more later. Which columns you can capture depends on what the document prints, since some delivery notes show only the quantity delivered.
Why Delivery Reports Are Tricky
Delivery reports are working documents, handled quickly and often under less-than-ideal conditions. A few things make them harder to extract than clean, digital paperwork:
Layouts vary by carrier, supplier, and warehouse system. Each one uses its own format, with different labels for the same information (“Delivery No.”, “Shipment ID”, “Consignment”).
Scans and photos taken at the dock. Documents are often creased, folded, or photographed at an angle, in poor light.
Signatures, stamps, and handwritten notes. These are frequently placed on top of or right next to the printed text, such as a quantity correction or a damage remark.
Ordered and delivered quantities can differ. A shortage or partial delivery is exactly what you need to catch, so the two columns have to be read accurately and kept separate.
Long item lists. Larger deliveries can run to many rows, and sometimes across several pages.
This is why capture habits and a template per layout matter, both covered later in this guide. Note that a template extracts printed text, so handwritten corrections and signatures should be reviewed by a person instead of relied on.
Step 1: Create a Delivery Report Template
Start with a clear scan or photo of a delivery report from a carrier or supplier you deal with often. Open the Template Editor, upload the document, and give the template a name and description, such as “Northwind Logistics delivery note.” Then select the model you want to use for extraction.
Next, mark the fields. Draw a Fixed Header Box around text that stays the same on every document from this sender, such as the company name or labels like “Delivery No.”, “PO Number”, and “Delivery Date”. Then draw a Value Box around the data next to each label, name the field, and connect the two. Repeat for the header fields you need: delivery number, order or PO number, delivery date, supplier or carrier, recipient, and received-by name. Click Save to Cloud, and the template is ready to use from the DoxTract page.
New to templates? Read template basics for the concepts, or the create template guide for the full walkthrough.
Setting Up the Item Table
The item list changes with every delivery, so it needs the table approach. For each column (item or SKU, description, quantity ordered, quantity delivered, unit), draw a Fixed Header Box around the column header and a Value Box around that column’s values, then connect them.
Give quantity ordered and quantity delivered their own columns with clearly different field names, such as qty_ordered and qty_delivered. Keeping them separate is what lets you spot shortages and partial deliveries later. If your documents print only one quantity column, map just that one.
To handle deliveries with different numbers of items, enable Expand Height on each column and connect it to a Fixed Header Box below the table, such as a “Total Items” or “Received By” label. When that lower box sits further down the page on a longer delivery, the value boxes stretch with it, so every row is captured.
The table extraction guide covers the full steps.
Step 2: Extract Data from a Single Delivery Report
With the template saved, go to the DoxTract page and click Modify Selection. Choose your delivery report template and click Done, then select the document (an image or PDF) and click Extract Data. For a single file, the result appears right after processing.
Compare the output with the original. Check the delivery number, date, and order number, and make sure the item rows and both quantity columns match. Look closely at anything that was handwritten, such as corrected quantities or remarks, since a template reads printed text. If a field is missing or wrong, adjust the template and run it again. See the data extraction guide for the full walkthrough.
Example Output
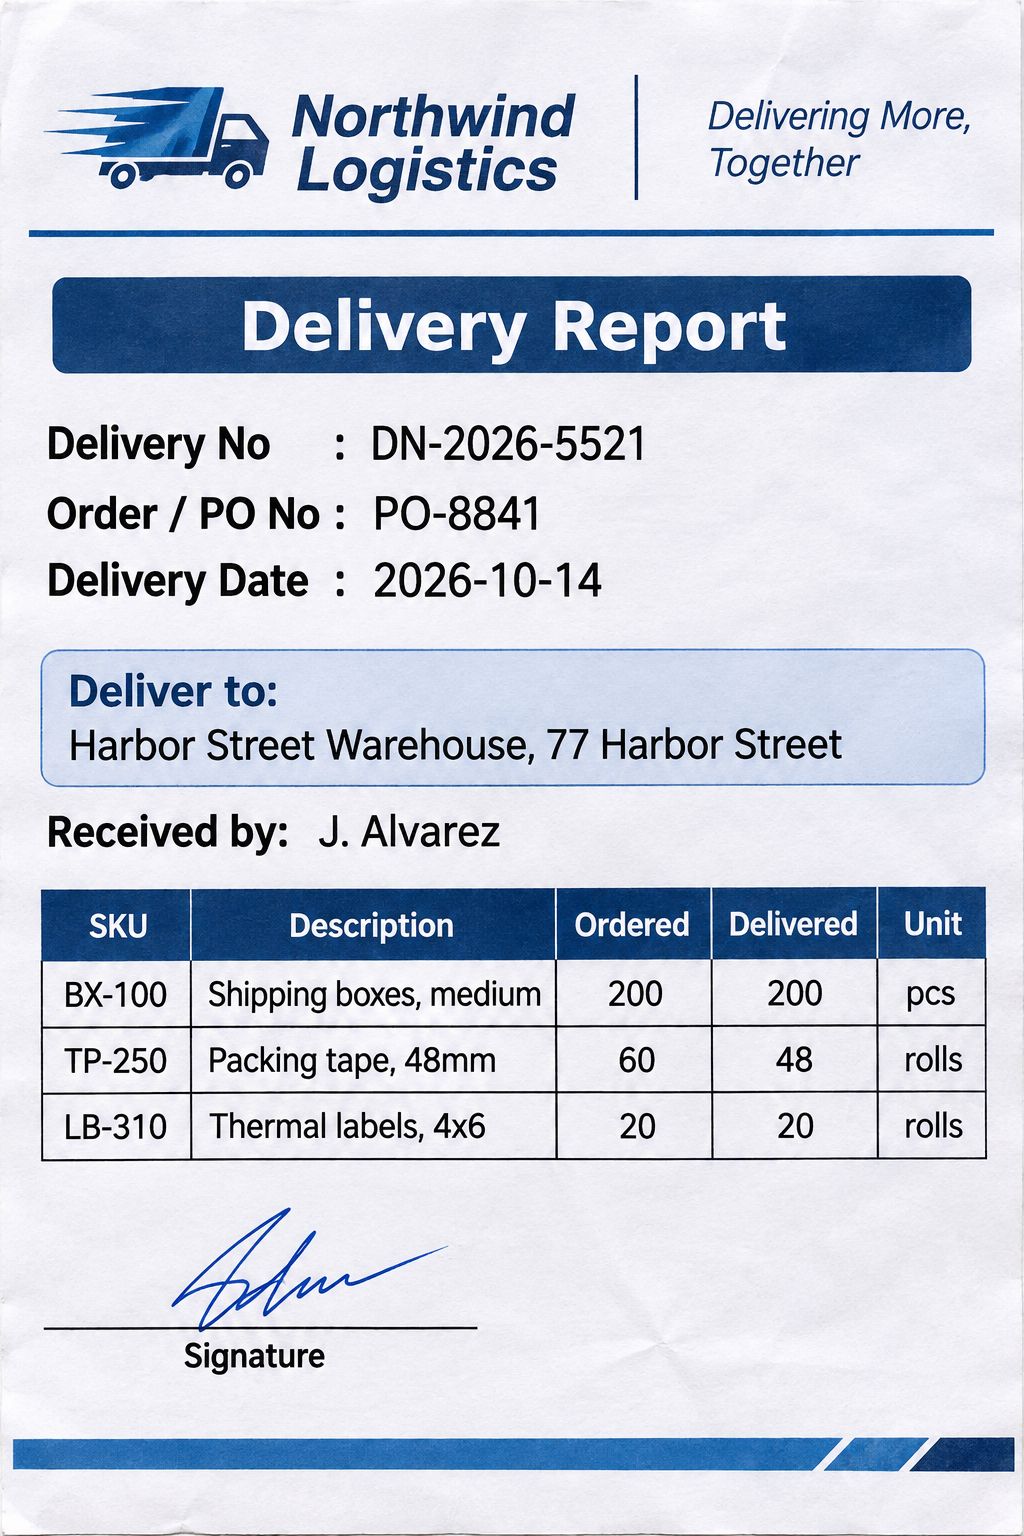
Here’s what extraction looks like on a delivery note. The sample is synthetic, so no real company, address, or shipment data is shown. One line item is deliberately short-shipped, to show why keeping the ordered and delivered quantities separate is useful.
Extracted JSON
{
  "delivery_number": "DN-2026-5521",
  "order_number": "PO-8841",
  "delivery_date": "2026-10-14",
  "supplier": "Northwind Logistics",
  "recipient": "Harbor Street Warehouse, 77 Harbor Street",
  "received_by": "J. Alvarez",
  "line_items": [
    {
      "sku": "BX-100",
      "description": "Shipping boxes, medium",
      "qty_ordered": "200",
      "qty_delivered": "200",
      "unit": "pcs"
    },
    {
      "sku": "TP-250",
      "description": "Packing tape, 48mm",
      "qty_ordered": "60",
      "qty_delivered": "48",
      "unit": "rolls"
    },
    {
      "sku": "LB-310",
      "description": "Thermal labels, 4x6",
      "qty_ordered": "20",
      "qty_delivered": "20",
      "unit": "rolls"
    }
  ]
}
Header fields come back as single values and the items as a line_items list, one entry per row. Because the two quantities are separate fields, you can compare them automatically. Here, the packing tape shows 60 ordered but only 48 delivered, a shortage of 12 rolls that a quick check would flag for follow-up. In the dashboard, a batch job exports the same data as a CSV.
Step 3: Process Delivery Reports in Batch
Once the template works on a single document, you can process a whole day’s deliveries at once. On the DoxTract page, choose your delivery report template, then select multiple scans, photos, or PDFs and click Extract Data. DoxTract creates an extraction job, and when it finishes you can download the results as a CSV file for Excel, Google Sheets, or your inventory system. Download the file when the job completes, since results aren’t kept indefinitely. See the data extraction guide for the full walkthrough.
Automating it with the API
If delivery notes arrive continuously, for example from a warehouse scanner, a shared inbox, or a carrier portal, you can skip manual uploads. The DoxTract API lets your warehouse system or ERP send documents and receive structured data back. Create an API key with the API keys guide, then call the endpoints from your own software, an automation tool, or a scheduled job.
Handling Multiple Carriers and Suppliers
Every carrier, supplier, and warehouse system formats its delivery paperwork differently, and the same information appears under different labels (“Delivery No.”, “Shipment ID”, “Consignment”). A template is anchored to the stable text on one layout, such as the company name and the labels and table headers, so the rule is simple: one template per layout.
One template when the layout is the same. If every delivery note comes from one carrier, or from your own warehouse system with a fixed design, a single template covers them all. The number of items can vary freely, because Expand Height handles that.
A separate template for each different layout. When a different carrier or supplier uses a different design, create a new template for it. Start with the senders that account for most of your deliveries, and add templates as new layouts come in.
Name templates so they’re easy to find. When you run an extraction, you pick the template by name, so a consistent pattern saves time and prevents mistakes. A good format is sender + document type, such as “Northwind Logistics delivery note” or “Harbor Freight packing slip”. If you keep more than one version of a layout, add a version at the end, like “Northwind Logistics delivery note v2”.
Group a day’s paperwork by template. Each batch runs against one template, so sorting documents by sender before you upload keeps the results clean.
When a sender changes its layout. Carriers redesign their paperwork or switch systems from time to time. When a familiar sender starts returning missing fields, edit the template instead of starting over:
On the DoxTract page, click Modify Selection.
Click the edit icon next to the template.
Adjust the boxes in the Template Editor using one of the new documents.
Click Save to Cloud.
If the new design is very different, save it as a new template, such as “v2”, so older documents still work. See the update template guide for details.
Validating Delivery Data
Extraction gets the data out of the document, but delivery data drives real decisions, such as what you pay for and what’s in stock, so it’s worth checking before it reaches your systems. These checks catch most problems:
Delivered vs. ordered quantity. Compare the two quantity columns on every line. Delivered below ordered signals a shortage or partial delivery that needs follow-up, and delivered above ordered signals an over-shipment. This is the most valuable check for delivery paperwork.
The order or PO number matches an open order. Look up the extracted PO number in your order system or spreadsheet. A number that doesn’t exist, or belongs to an order that’s already closed, deserves a look.
The delivery date is valid. It should parse as a real date and should not fall before the order date or sit far in the future.
Required fields are present. Delivery number, date, and recipient should never be empty. A blank value means the template didn’t match or a field was missed.
No duplicate delivery numbers. The same delivery note can be scanned twice, so check each carrier and delivery number pair against what you’ve already processed.
Run these wherever the data lands. If you use the API or an automation tool such as Zapier, add a validation step right after extraction, and send documents that fail a check to a review queue. If you work from the CSV, spreadsheet formulas can flag mismatches, for example a simple comparison of the delivered and ordered columns, before you import anything.
Documents that pass every check can flow through automatically. The ones that fail are the ones worth a person’s time.
Where to Send the Extracted Delivery Data
Once your delivery data is validated, send it where it’s needed. For quick review and reporting, download the batch CSV and open it in Excel or Google Sheets. For no-code automation, the Zapier guide shows how to pass extracted data into the apps you already use. And for ERP, inventory, or invoice-matching systems, use the DoxTract API to send structured JSON straight into your own software, so delivered quantities can update stock levels or be matched against purchase orders and supplier invoices automatically.
Try It on Your Own Delivery Reports
The fastest way to see how extraction works is to run it on your own documents. Create a free DoxTract account and get 200 pages every month, enough to build a template for a carrier or supplier you deal with often and test it on a real batch of delivery notes, item quantities included.